Vim编辑器总结
前言
最近换了工作,博客很久没跟新了。新工作与原来的领域知识相差很多,变化比较大,所以需要了解的东西比较多。之前大部分情况都是使用VS或SourceInsight阅读写代码,由于最近需要频繁在Linux远程服务器上进行代码开发,同时Windows磁盘映射的速度很慢,为了提高生产力,因此尝试这使用Linux自带的文本编辑器VIM来进行代码编辑,下面简要介绍下对VIM的基本了解和使用。
VIM入门
VIM工作模式
VIM是纯文本的文本编辑器,纯文本的编辑常用的操作就是增删改减,在这些基本的操作过程中,需要辅助一些其他的操作,如为了定位文本需要进行鼠标移动操作命令,为了选中文本需要进行文本选中操作,为了进行文本查找、替换等操作需要文本筛选操作等等。为了方便这些操作VIM延伸出4种基本的工作模式。
Normal模式
VIM缺省模式,主要在该模式下进行文本定位移动和删除, 在其他模式下通过Esc回到Normal模式.
Insert模式
该模式在需要输入文本时候使用,正常模式下通过以下命令进入插入模式:
i(光标前插入)a(光标后插入)c(光标处固定长度替换插入)s(光标处不固定长度替换插入)o(在光标下一行行首插入)I(行首前插入)A(行尾后插入)C(光标处到行尾替换插入)S(整行替换插入)O(在光标上一行行首插入)
Visual模式
该模式主要用于文本选定,这样可以方便后续进行块的替换、删除、复制粘贴操作,正常模式输入以下命令进入Visual模式:
v(小写):按字符选定V(大写):按行选定Ctrl-V(大写):按列选定
Command模式
该模式用于执行文本编辑命令,正常模式下输入以下命令然后回车(Enter)即可完成所需的命令:
- :(冒号)一般的命令,命令包括外部命令(以!开头),内部命令(不加!)
- /(正斜杠)正向搜索命令
- ?(问号)反向搜索命令
在了解基本命令后通过后续不断练习来熟悉VIM操作.
VIM练习
vimtutor
一开始练习,推荐Linux系统自带的vimtutor工具,直接在shell终端输入:
1 | vimtutor |
按照vimtutor的顺序开始45min~60min的练习后,大概会了解和熟悉VIM的基本操作:
- 上下左右移动:
k,j,h,l; 移动到单词末尾:e; - 强制退出:
:q!<Enter>; 保存退出::wq<Enter>;保存所有Buffer::wa<Enter>;保存当前打开文本到新建文件::w + new_file_name<Enter>; 打开文件::e + file_name; 查看Buffer::ls,选中某一个Buffer n::b N;选中打开的Buffer前一个和后一个文件::bp,:bn; - 删除光标处字符:
x - 光标前插入:
i; 行尾插入:A - 删除命令:
d + motion,如:de:删除光标至单词末尾d$:删除光标至行尾dw:删除光标至下一个单词首dd:删除当前行 - 使用数字进行一次行多次移动,删除操作,如:
2k:向上移动两行3e:移动到光标后第3个单词末尾0:移动到行首(不忽略空格, ^:移动到行首忽略空格)d2w(2dw):删除光标位置开始两个单词(d + num + motion 或者 num + d + motion)2dd(d2d):删除当前行和下一行共两行 - 恢复上一次修改:
u; 恢复当前行的所有修改:U; 撤销恢复:Ctrl+R - 复制黏贴: 复制:
y + motion; 黏贴:pyw: 复制到下个单词行首(不包括行首字符)yaw: 复制当前单词(y a word for short)y$: 复制光标至行末 - 单个字符替换:
r; 当前光标无长度限制覆盖式替换:R - 替换操作:
c + num + motion,如:cw: 替换到下个单词首(不包括首字符);caw: 替换当前单词(y a word for short)c$: 替换光标至行末c2e: 替换光标至下一个单词末(包括尾字符) - 文件状态定位,如:
Ctrl-G:查看当前文件位置和状态G:移动到文件首行gg:移动到文件尾行 - 搜索&替换,如:
/: 正向搜索n:匹配同向搜索结果,N:匹配反向搜索结果?: 反向搜索n:匹配同向搜索结果,N:匹配反向搜索结果
:s<Enter>:替换:s/old/new<Enter>:在一行内替换第一个old为new:s/old/new/g<Enter>:在一行内替换所有old为new:#,#s/old/new/g<Enter>:在两个#代表的行内替换所有old为new:%s/old/new/g<Enter>:在整个文件内替换所有old为new:%s/old/new/gci<Enter>:在整个文件内替换所有old为new,且需要确认(c)并且忽略大小写(i) - 执行外部命令,以!开头:
:!pwd<Enter>: 显示当前工作路径:!ls<Enter>: 显示当前工作路径所有文件 - 读取文本到当前光标位置
:r !pwd<Enter>: 读取当前工作路径文本到光标位置:r filename<Enter>: 读取filename文件内文本到光标位置
VIM帮助
通过Linux自带的vimtutor基本上就会使用基本的文本编辑操作了,如果需要查询更详细的可以输入如下命令:
:help user-manual
VIM规律与技巧
移动光标
VIM移动光标命令是以一定的操作单位为基本移动距离的,然后在需要的时候选择合适的操作次数,基本原则是: 先定操作单位再定操作次数,基本的操作单位如下表所示:
| 操作单位 | 命令 | 备注 |
|---|---|---|
| 字符 | h(左移动一个字符);l(右移动一个字符) |
无 |
| 单词 | w/W(移动到下单词首);b/B(移动到上单词首);e/E(移动到光标所在单词首) |
W,B,E单词是以空格和Tab区分单词的,w,b,e是以数字和字母外其他字符区分单词的 |
| 行 | j(移动到下行);k(移动到上行);0(移动到当前行首);^(移动到当前行首第一个非空字符);$(移动到当前行尾);:n(移动到第n行) |
无 |
| 句子 | )(移动到当前句尾);((移动到当前句首) |
句子边界是以.,!,?结尾并紧随着一个换行、空格或制表符,段落和节也视为句子边界 |
| 段落 | }(移动到当前段尾);{(移动到当前段首) |
段边界是以空行为边界,段落和节也视为句子边界 |
| 屏 | H(移动到屏幕第一行);M(移动到屏幕中间行);L(移动到屏幕最后行) |
无 |
| 页 | Ctrl-f(向前滚动一页);Ctrl-b(向后滚动一页);Ctrl-u(向前滚动半页);Ctrl-d(向后滚动半页) |
无 |
| 文件 | G(移动到文件尾);gg(移动到文件头);:0(移动到文件第一行);:$(移动到文件最后一行) |
无 |
移动光标到指定字符:
fa:移动到当前行字符a处,F则表示反方向2fa:移动到当前行第二次出现字符a处,F则表示反方向ta:移动到当前行字符a前一处,T则表示反方向文本编辑确定原则后,基本的编辑格式为:
1
num + motion
3j: 向下移动三行5G: 移动到第5行移动光标基本单位外还有些常用命令如下:
%: 跳转到与之匹配的括号处.: 重复执行上次命令/.: 跳转到最近修改位置并定位编辑点*: 向前搜索光标所在单词#: 向后搜索光标所在单词q/: 显示搜索命令历史窗口q:`: 显示命令模式输入的命令历史窗口
编辑文本
基本编辑文本命令
与移动光标类似,在进行文本增删改选中等操作过程中也需要操作单位和操作数量,这些操作单位与光标移动一样,基本原则是: 先定操作类型,后定操作单位和操作次数, 基本操作单位和命令如表所示:
| 操作单位 | 命令 | 备注 |
|---|---|---|
| 字符 | x(删除光标位置所在字符);c(替换光标位置所在字符,并进入插入模式);s(替换光标位置所在字符,并进入插入模式;r(替换光标位置所在字符,不进入插入模式;i(在光标位置所在字符前插入,并进入插入模式;a(在光标位置所在字符后插入,并进入插入模式; |
无 |
| 单词 | c(d,y,v)w/cW(修改到下单词首);c(d,y,v)b/c(d,y,v)B(修改到上单词首);c(d,y,v)e/c(d,y,v)E(修改到光标所在单词首) |
W,B,E单词是以空格和Tab区分单词的,w,b,e是以数字和字母外其他字符区分单词的 |
| 行 | c(d,y,v)j(修改到下行);c(d,y,v)k(修改到上行);c(d,y,v)0(修改到当前行首);c(d,y,v)^(修改到当前行首第一个非空字符);c(d,y,v)$(修改到当前行尾); |
无 |
| 句子 | c(d,y,v))(修改到当前句尾);c(d,y,v)((修改到当前句首) |
句子边界是以.,!,?结尾并紧随着一个换行、空格或制表符,段落和节也视为句子边界 |
| 段落 | c(d,y,v)}(修改到当前段尾);c(d,y,v){(修改到当前段首) |
段边界是以空行为边界,段落和节也视为句子边界 |
| 文件 | c(d,y,v)G(修改到文件尾);c(d,y,v)gg(修改到文件头);:0(移动到文件第一行);:$(移动到文件最后一行) |
无 |
文本编辑确定原则后,基本的编辑格式为:
1 | c(d,y,v) + num + motion |
caw: 替换当前光标所在单词d2w: 删除当前光标所在至后面一个单词
列操作
常用的列操作命令有:Ctrl-V: 进入列编辑模式,然后通过移动命令选中列进行编辑操作I: 进入列编辑模式时候鼠标前插入操作A: 进入列编辑模式时候鼠标后插入操作
文本区域选中或编辑
- 选中或编辑一个区域,不包括区域符号本身:
1
c(d,y,v) + i + region(",',),],})
- 选中或编辑一个区域,包括区域符号本身:
1
c(d,y,v) + a + region(",',),],})
文本编辑其他常用命令
文本编辑基本单位外还有些常用命令如下:
dd: 删除光标所在行yy: 复制光标所在行xp: 交换光标位置和其后的字符ddp: 交换光标和其后的行~: 将光标所在字符大小写翻转guw: 将光标所在单词变为小写gUw: 将光标所在单词变为大写guu: 将光标所在行所有字符变为小写gUU: 将光标所在行所有字符变为大写g~~: 将光标所在行所有字符大小写翻转ga: 显示光标所在字符内码>>: 右缩进<<: 左缩进==: 格式化Ctrl-p: 自动补全Ctrl-n: 自动补全移动选中Shirf-K: 显示光标所在当前Linux系统函数帮助界面
VIM其他常用功能
分屏
相关概念
VIM支持多窗口分屏功能,了解分屏功能之前,需了解VIM的几个概念:
- Buffer
A buffer is the in-memory text of a file:可以看做内存中的文本,还未写到磁盘上,修改均发生在内存上 - Window
A window is a viewport on a buffer: 用来显示Buffer, 同一个Buffer可以有多个Window(一个Window只显示一个Buffer) - Tab
A tab page is a collection of windows: 包含一系列Window
分屏命令
常用的分屏命令有::split: 创建分屏,默认是水平分屏(:vsplit是垂直分屏)Ctrl-w + (i,j,h,k): 上下左右切换分屏Ctrl-w + (I,J,H,K): 上下左右移动光标所在分屏Ctrl-w +(-) : 增加或减少尺寸Ctrl-w +(_[Shift+-]) : 屏幕高度扩展到最大Ctrl-w +(|[Shift+\]) : 屏幕宽度扩展到最大
切页命令
常用的切页命令有::tabnew + file_name: 新建一个Tab页:tabc: 关闭当前Tab页:tabo: 关闭所有其他Tab页:tabs: 查看所有Tab页:tabp: 查看前一个Tab页:tabn: 查看后一个Tab页Ngt: 查看第N个Tab页
xshell及SecureCRT可以通过
Alt + N切换Tab页
文本折叠
折叠模式
VIM文本支持多种折叠模式,可以通过以下命令在vim中设置或写在.vimrc配置文件中:
1 | :set foldmethod=manual|indent|expr|syntax|diff|marker |
VIM折叠包括以下几种模式说明如下表所示:
| 折叠模式 | 备注 |
|---|---|
| manual | 手工定义折叠 |
| indent | 缩进表示折叠 |
| expr | 表达式表示折叠 |
| syntax | 语法高亮表示折叠 |
| diff | 对没有更改文本表示折叠 |
| marker | 用特定标识(一般默认是{,},[,]表示折叠) |
折叠命令
常用的VIM折叠命令如下表所示:
| 折叠命令 | 说明 |
|---|---|
| zf | 将选中的文本执行折叠 |
| zo | 打开当前的折叠 |
| zc | 关闭当前的折叠 |
| za | 打开关闭折叠切换 |
| zd | 删除当前的折叠 |
| zj | 移动至下一个折叠 |
| zk | 移动至上一个折叠 |
| zn | 禁用折叠 |
| zN | 启用折叠 |
| zE | 删除所有的折叠 |
| zM | 关闭所有及嵌套的折叠 |
| zr | 打开所有的折叠 |
| zR | 打开所有及嵌套的折叠 |
折叠命令实例:
zf命令将选中的文本执行折叠,支持通过移动命令组合来折叠制定行,如:zf10j:折叠当前行后10行;5zf: 将当前行及其后4行折叠起来,zf7G: 将当前行至全文第7行折叠起来,zfa(: 折叠(包围区域
每次使用zf命令折叠后需要使用:mkview命令来保存折叠状态,该命令会在.vim下面生成view文件夹,后续重新打开该折叠后的文件可以通过:loadview来加载上次保存的折叠状态
可以通过以下命令查看折叠help:
1 | :help folding |
文本编辑宏录制
VIM文本编辑宏主要是解决重复编辑操作或有一定规律的编辑操作,实在 Normal模式 下进行的,主要步骤如下:
q*:开始录制,*可以为0~9a~zA~Z中任意字符,相当于寄存器用来存刚才录制的宏- 执行VIM编辑操作
q: 停止录制宏@*: 执行录制宏,可以前面加数字表示执行多少次,如10@a表示重复执行10次录制在寄存器a中的宏,@@表示重复执行上次的@*操作
如实现数字序号递增功能:
- 在某行输入
1,并Esc退回至Normal模式- 输入
qa开始录制- 输入
yy复制当前1;输入j跳入下行;输入p黏贴到下行;输入Ctrl-a使数字自增- 输入
q结束录制- 输入
n@a可以使数字递增至n
可以通过以下命令查看宏help:
1 | :help recording |
文本对比
VIM中可以通过如下命令以比较方式进行文件对比:
- 打开两个文件进行对比:
1
2
3vim -d file1 file2
或者:
vimdiff file1 file2 - 已经打开文件file1,打开file2文件与其进行对比:
1
2
3
4水平分割打开两个窗口:
diffsplit file2
或垂直分割打开两个窗口:
vert diffsplit file2 - 已经打开文件file1,file2文件,分别在两个窗口输入:
1
diffthis
- 其他文本比较命令:
| 比较命令 | 备注 |
|---|---|
| :vimupdate | 更改文件后,更新diff结果 |
| [c | 跳转到上一个diff点 |
| ]c | 跳转到下一个diff点 |
| dp | 将diff点的当前文档应用到另一个文档 (diff put) |
| do | 将diff点的另一个文档应用到当前文档 (diff obtain) |
VIM编译(Ubuntu)
VIM可以从GitHub上下载最新源码进行编译,编译过程类似于这样的:
下载最新的VIM源码:
1
git clone https://github.com/vim/vim.git
清除VIM源码之前的编译结果:
1
2
sudo make clean
sudo make disclean配置编译选项:
1
./configure --with-feature=huge --enable-rubyinterp --enable-pythoninterp --enable-python3interp --enable-perlinterp --enable-multibyte --enable-cscope --with-python-config-dir=/usr/lib/python2.7/config-x86_64-linux-gnu/ --with-python-config-dir=/usr/lib/python3.5/config-3.5m-x86_64-linux-gnu/ --prefix=/usr/local/vim
--with-feature=huge: 支持最大特性--enable-rubyinterp: 打开对ruby编写插件的支持--enable-pythoninterp:打开对python编写插件的支持--enable-python3interp:打开对python3编写插件的支持--enable-perlinterp:打开对perl编写插件的支持--enable-multibyte:打开多字节支持,可以在VIM中支持中文--enable-cscope:打开对CSCOPE的支持--with-python-config-dir=/usr/lib/python2.7/config-x86_64-linux-gnu/: 指定python路径--with-python-config-dir=/usr/lib/python3.5/config-3.5m-x86_64-linux-gnu/:指定python3的路径--prefix=/usr/local/vim: 自定义VIM安装路径编译安装VIM:
1
sudo make && make install
若安装出现问题需要安装以下依赖:
1
2
3
sudo apt-get install python-dev
sudo apt-get install python3-dev
sudo apt-get install libncurses5-dev至此,VIM已经安装到
--prefix指定的/usr/local/vim路径了,可以通过vim --version查看VIM的相关信息,还可以通过以下命令增加软连接来自启动新编译的VIM:1
ln -s /usr/bin/vim /usr/local/vim
VIM卸载方法:
1
2
sudo apt-get remove --purge vim(--purge是完全删除,连同配置文件)
sudo apt-get clean
VIM配置及插件
VIM配置
本人的VIM配置如下:
1 | set nocompatible " Set no compatible with vi (older version) so we can use extend function of |
VIM插件
VIM可供选择的插件很多,本人常用的插件有:
NerdTree
功能:文件导航,主要功能包括:
a): 树状显示某个工程下文件,并支持文件打开,搜索,增删改查等基本操作
b): 支持设置BookMark
c): 支持文件预览和垂直及水平多屏方式打开
d): 支持变更文件工程当前工作目录
帮助:
在NerdTree窗口输入?或者输入:1
:help nerdtree
Tagbar
功能:C/C++文件内容分类和快速定位
a): 支持文件namespace,functin,variant等类型分类及快速定位
帮助:
在Tagbar窗口输入?或者输入:1
:help tagbar
CtrlP
功能:文件快速搜索
a): 支持文件在指定工程目录下快速搜索
b): 支持文件在最近最常使用的文件集合中搜索
c): 支持文件在Buffer文件集合中搜索
帮助:1
:help ctrlp
a.vim
功能:C/C++文件头文件和源文件切换
a): 支持头文件和源文件在不同窗口模式(水平,垂直)中进行切换
帮助:1
2
3
4
5
6
7
8
9
10
11
12
13`:A` switches to the header file corresponding to the current file being edited (or vise versa)
`:AS` splits and switches
`:AV` vertical splits and switches
`:AT` new tab and switches
`:AN` cycles through matches
`:IH` switches to file under cursor
`:IHS` splits and switches
`:IHV` vertical splits and switches
`:IHT` new tab and switches
`:IHN` cycles through matches
`<Leader>ih` switches to file under cursor
`<Leader>is` switches to the alternate file of file under cursor (e.g. on <foo.h> switches to foo.cpp)
`<Leader>ihn` cycles through matchesNerdCommenter
功能:快速注释
a): 支持不同形式(行注释、块注释)的快速注释和反注释
帮助:1
:help nerdcommenter
Syntastic
功能:静态语法错误检查
a): 支持静态语法检查并提示出错行和出错信息
帮助:1
:help syntasitc
vim-surround
功能:快速],},(,',",<等封闭符号编辑
a): 支持快速],},(,',",<等封闭符号增删修改
帮助:1
:help surround
vim-airline
功能:状态栏显示
a): 支持状态栏各种编辑状态显示
帮助:1
:help airline
solarized
功能:配色
a) 支持dark和light两种配色vim-fugitive
功能:vim git管理插件
a) 支持vim git快速方便管理
帮助:1
:help fugitive
YouCompleteMe
功能:vim 自动补全功能
a) 支持vim像IDE一样自动补全,不过安装很复杂,需要llvm+clang编译和VIM的python支持
帮助:1
:help youcompleteme
vim-markdown
功能:vim markdown语法高亮
a) 支持vim中markdown编辑语法高亮
帮助:1
:help markdown
markdown-preview.nvim
功能:vim markdown预览
a) 支持vim中markdown预览
帮助:1
:help markdown-preview
fzf
功能:vim模糊查找功能
a) 支持vim中文本模糊查找
b) 支持vim文件名模糊查找
c) 支持vim最近使用文件模糊查找
帮助:1
:help fzf
indentLine
功能:vim缩进可视化
a) 支持vim缩进显示
帮助:1
:help indentLine
vim-snippets
功能:vim代码Snippet
a) 支持vim代码Snippet
帮助:1
:help snippets
Vundle
功能:vim 插件包管理插件
a) 通过git方式来管理VIM插件包,支持通过github或VIM插件中在线自动更新插件和本地文件插件更新
帮助:1
2
3
4
5`:PluginList` - lists configured plugins
`:PluginInstall` - installs plugins; append `!` to update or just
`:PluginUpdate` - update plugins;
`:PluginSearch` foo - searches for foo; append `!` to refresh local cache
`:PluginClean` - confirms removal of unused plugins; append `!` to auto-approve removal
VIM中插件配置如下:
1 | "++++++++++++++++++++ plugin in config++++++++++++++++++++ |
本人的VIM环境整体的配置效果如图所示: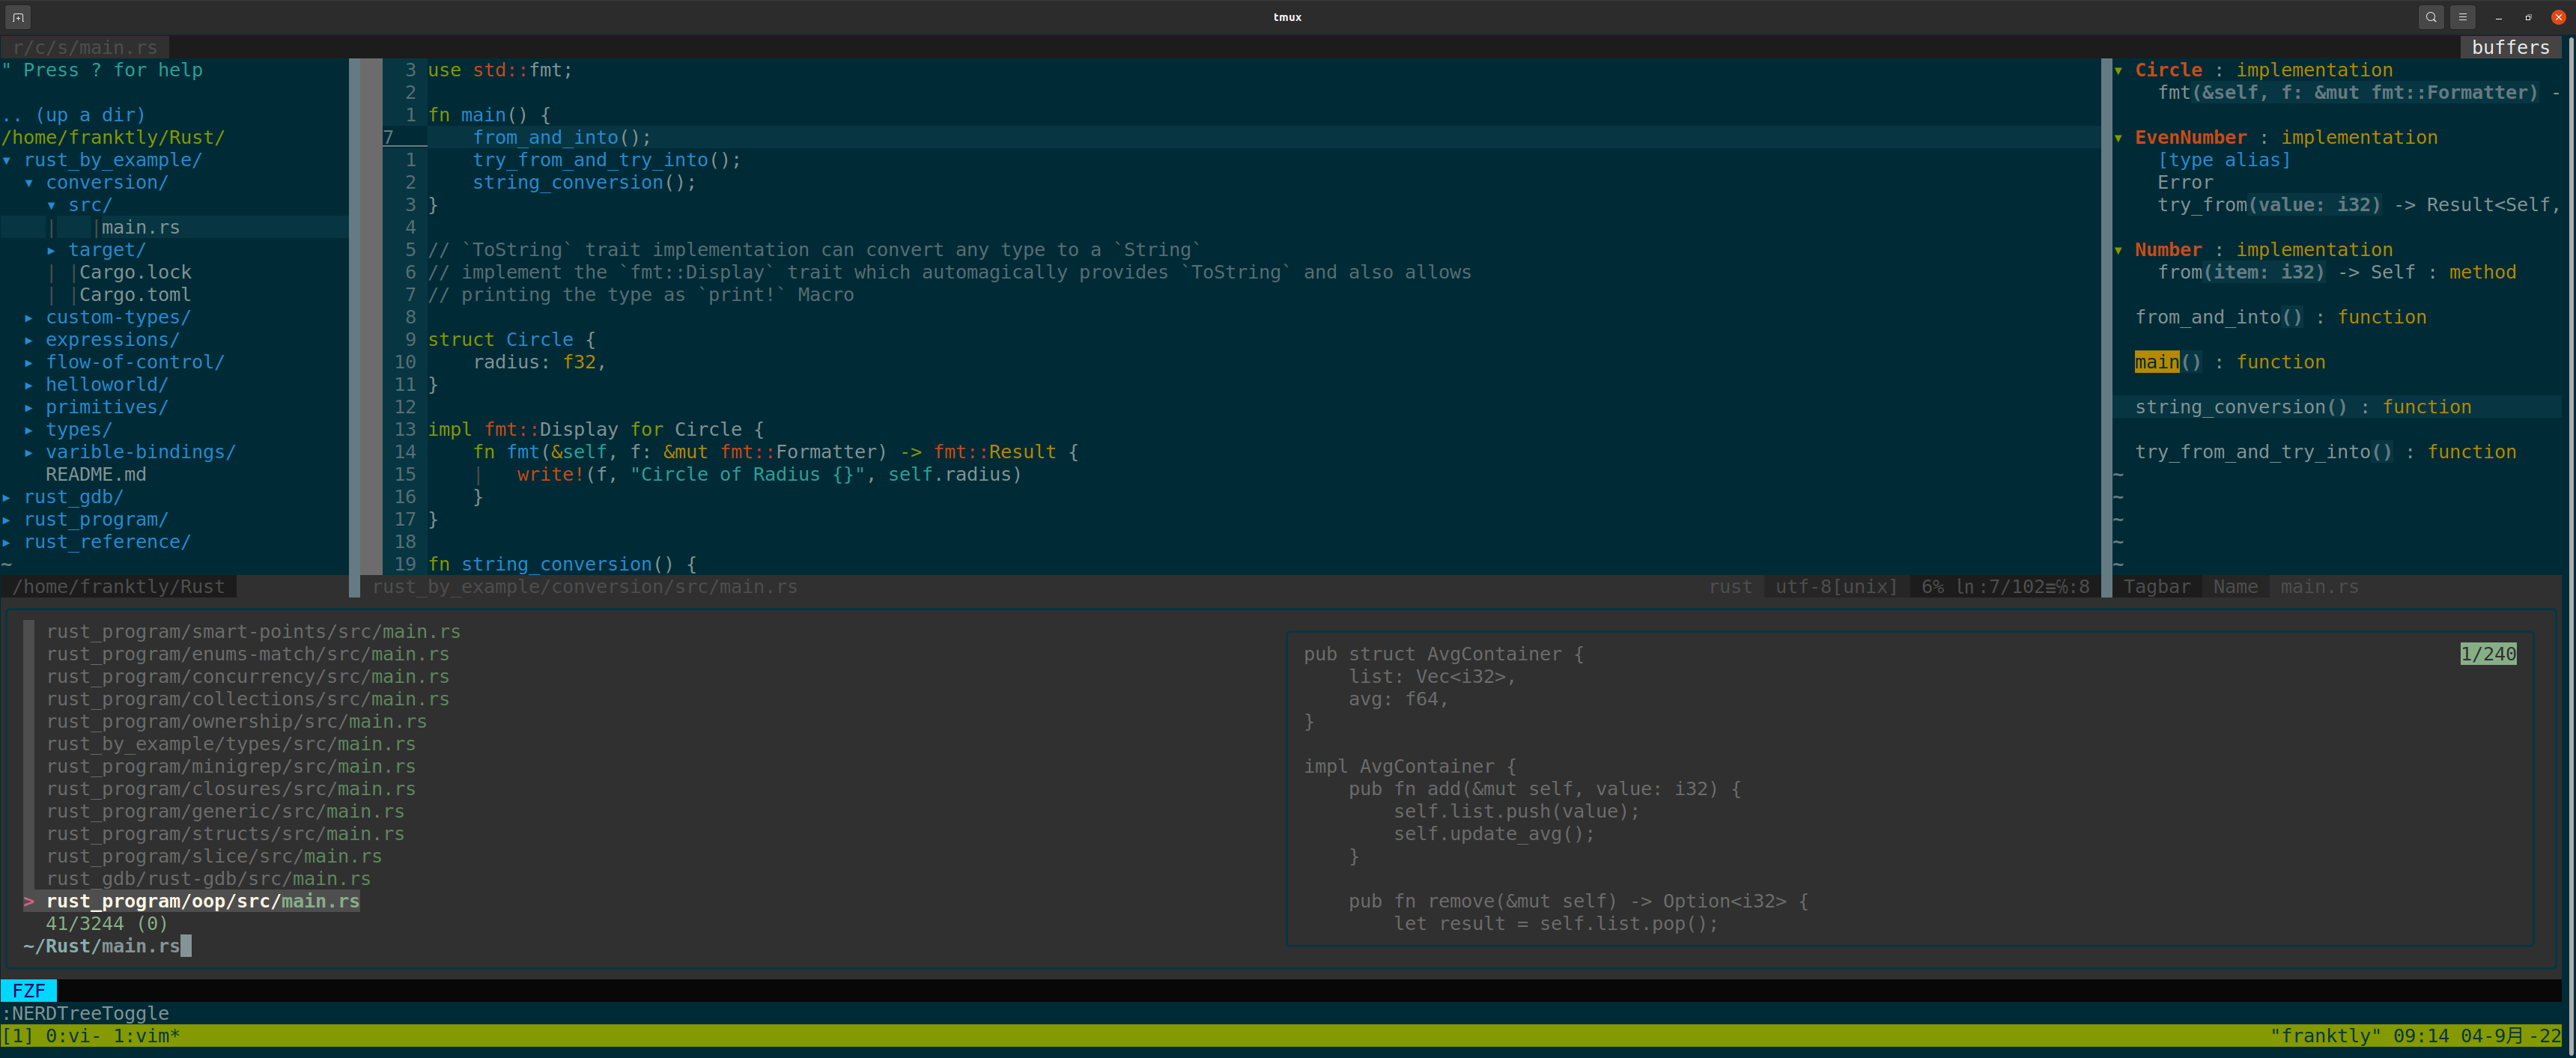
左边窗口是
NerdTree,右边是Tagbar,下方是fzf
附:
比较齐全的VIM命令图解: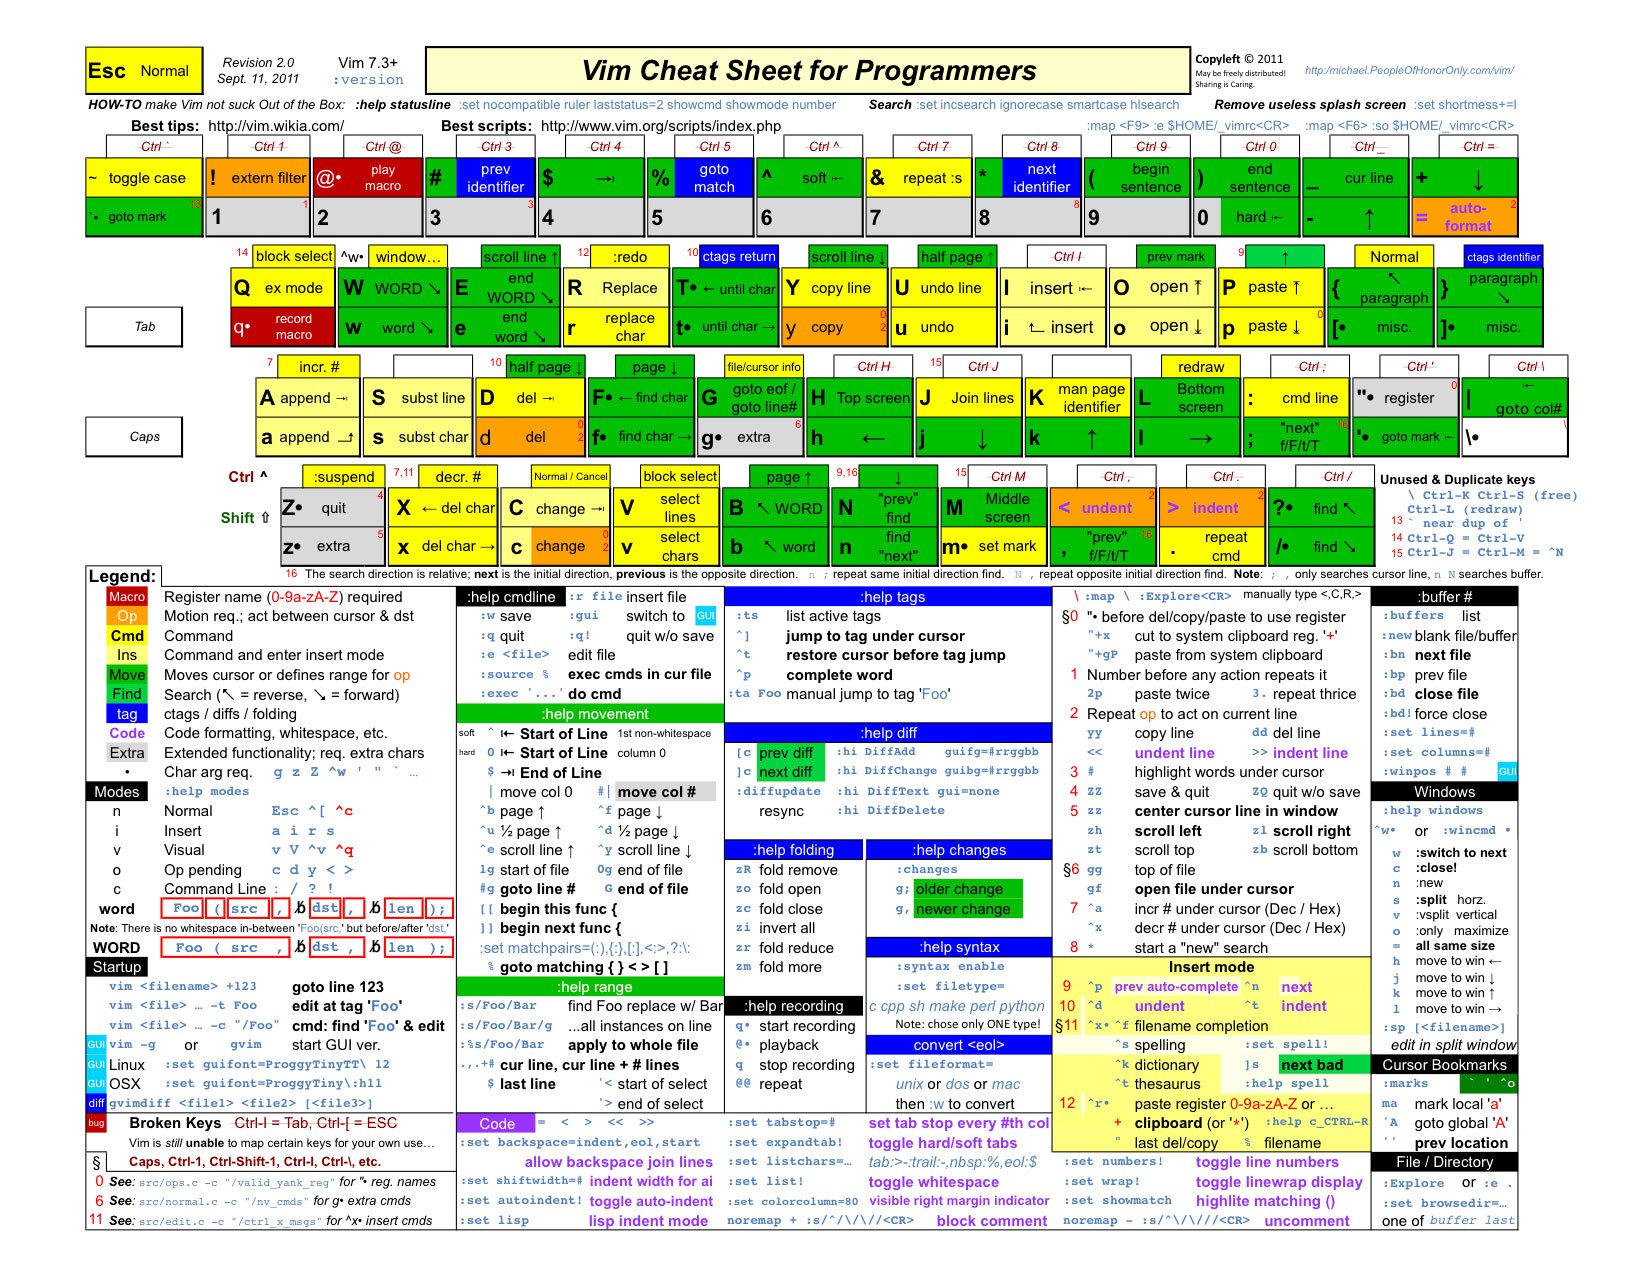

总结
工欲善其事必先利其器, 如果是在C/C++/Python等语言下做开发,VIM作为其编辑器在使用熟练情况能够一定程度上提高生产力,但是必须面对一个事实是:VIM的学习曲线很陡,需要不停的折腾.自己也是在不断的学习和了解它,不过慢慢感觉使用多了,习惯了使用它编辑,很快你就会喜欢上它。
参考
https://en.wikipedia.org/wiki/Vim_(text_editor)
http://www.tuicool.com/articles/f6feae
https://www.ibm.com/developerworks/cn/linux/l-cn-tip-vim/
http://yannesposito.com/Scratch/en/blog/Learn-Vim-Progressively/